10LevelUp
Video Generation Video Editing
Learn More
Curious about Canva's Photo to Video Converter? We'll walk you through exactly what it is and how to use it effectively in 2025. Plus, we'll compare it to other image-to-video tools.
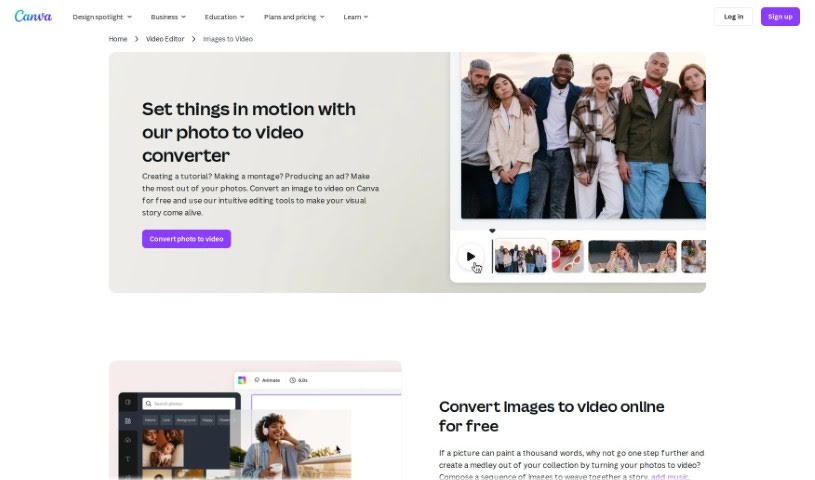
Canva’s Photo to Video Converter is your go-to tool for easily turning a collection of photos into a really engaging video presentation. It’s a feature built right into Canva that lets you import your images, add smooth transitions between them, pop on some text, and even include background music. Basically, it helps you create professional-looking video slideshows for anything you need – whether it’s for social media, a presentation, or just a personal project. It’s a super user-friendly way to show off your photos in a much more dynamic and captivating way, perfect for anyone wanting to boost their visual storytelling skills without leaving the Canva platform.
Canva’s Photo to Video Converter was actually brought to life by Melanie Perkins, Cliff Obrecht, and Cameron Adams. Melanie Perkins is the co-founder and CEO of Canva, the popular graphic design platform we all know. Cliff Obrecht is also a co-founder, serving as Canva’s COO, and Cameron Adams is the co-founder and Chief Product Officer. Together, they’ve made Canva a go-to online tool for creating all sorts of visual content easily and efficiently.
Ready to turn those photos into a video? It’s pretty straightforward with Canva. Just follow these simple steps:
Following these steps should make it a breeze to create engaging videos from your photos using Canva’s Photo to Video Converter. Have fun exploring all the creative possibilities!
Discover more tools in similar categories that might interest you
Get weekly updates on the latest AI tools, trends, and insights delivered to your inbox
Join 25,000+ AI enthusiasts. No spam, unsubscribe anytime.