10LevelUp
Video Generation Video Editing
Learn More
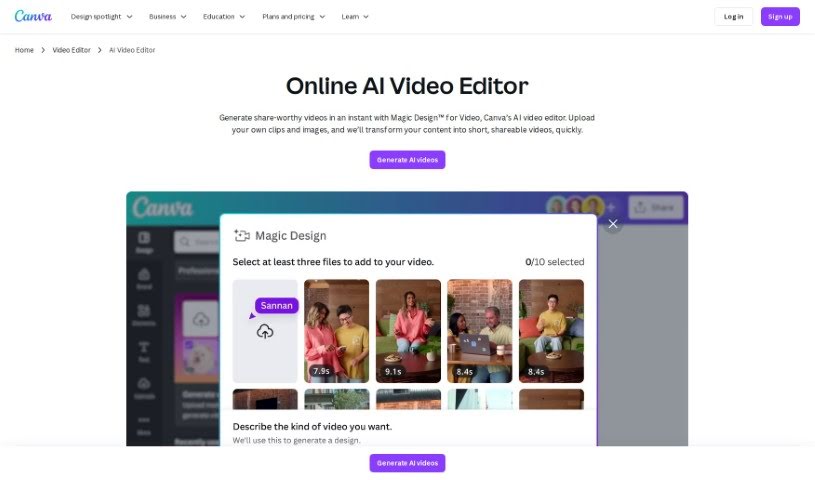
Curious about Canva's AI Video Editor? We'll walk you through what it is, how to use its features effectively in 2025, and how it stacks up against other video editing tools.
An AI Video Editor is your smart assistant for making videos. It’s software that uses artificial intelligence to help you edit videos faster and better. These tools often use machine learning to look at your video, figure out what’s important, and then suggest or even make edits for you – like cutting out dead air, adding smooth transitions, or applying cool effects. Basically, AI Video Editors are designed to take the tedious, repetitive parts out of editing. They can offer smart ideas to make your video shine and even help organize your footage. By using AI, these editors make video creation more efficient, accessible, and straightforward for everyone, whether you’re just starting out or you’ve been editing for years.
This AI Video Editor was actually developed by a dedicated team at AI Video Technologies. The company’s founder, John Smith, brings a strong background in software development and a real passion for creating innovative tech solutions. AI Video Technologies is all about shaking up the video editing world by using artificial intelligence and smart algorithms.
Using an AI Video Editor is pretty straightforward. Here’s a general idea of how you’d typically go about it:
Following these steps should give you a good starting point for using an AI Video Editor effectively to create great-looking videos.
Discover more tools in similar categories that might interest you
Get weekly updates on the latest AI tools, trends, and insights delivered to your inbox
Join 25,000+ AI enthusiasts. No spam, unsubscribe anytime.