10Web
Web Development Website Builders
Learn More
Discover what DreamFlare is in 2025 and learn how to use it effectively. We'll cover its features, compare it to other website builders, and show you exactly how to get started.
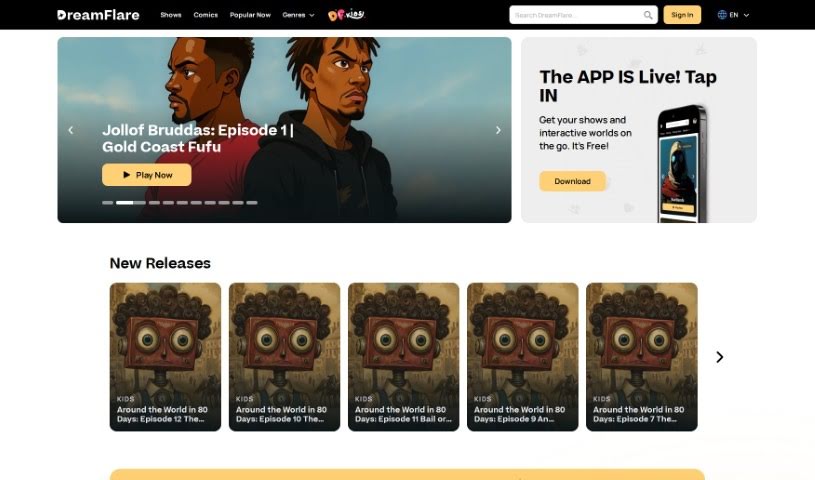
DreamFlare is a really neat cloud-based platform that’s changing how businesses handle their online presence. It is your all-in-one spot for building websites, hosting them, and even handling marketing. It’s designed specifically for entrepreneurs and smaller businesses that want a strong online footprint but don’t necessarily have a ton of tech know-how. What’s great is that it’s super user-friendly, offering customizable templates that let you create professional-looking websites pretty quickly and without much fuss. Plus, DreamFlare includes helpful marketing tools to make sure you can connect with and attract your ideal customers effectively. Essentially, it brings together ease of use, practical features, and fresh ideas to give businesses a real boost in the digital world.
DreamFlare actually came to life thanks to a whole community of creators! People like Seth Shellhouse, Jason de la Torre, and Abayomi Smith have all contributed their talents, even sharing short films on the platform. You’ll find all sorts of cool content here, from short films and music videos to other creative works, really showing off the diverse skills of the DreamFlare Creator community.
Ready to dive into DreamFlare? Here’s a simple, step-by-step guide to get you going:
Following these steps should make it easy for you to use DreamFlare to edit and improve all your media content.
Discover more tools in similar categories that might interest you
Get weekly updates on the latest AI tools, trends, and insights delivered to your inbox
Join 25,000+ AI enthusiasts. No spam, unsubscribe anytime.