Screenshot of Speechmatics Flow

Speechmatics Flow

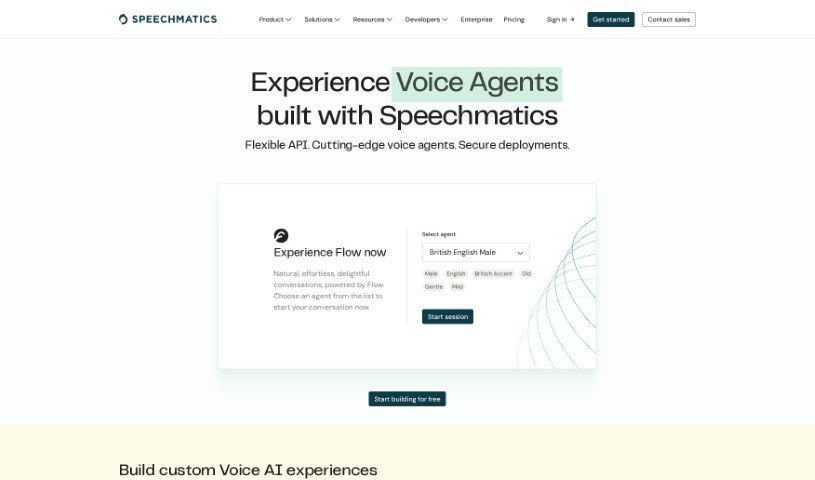
Discover what Speechmatics Flow is all about and learn how to use it effectively in 2025. We'll explore its key features and see how it stacks up against other brainstorming tools.

Screenshot

What is Speechmatics Flow?

Flow describes a mental state where you’re completely absorbed and genuinely enjoying what you’re doing. It’s that feeling of being totally immersed, focused, and energized by the activity itself, not just the outcome. When you’re in the flow state, you often experience intense concentration, feel naturally motivated, and time seems to warp – hours can fly by in what feels like minutes. This often happens when a task’s challenge perfectly matches your skills, creating a really nice balance. Experiencing flow is fantastic for boosting creativity, getting more done, and feeling deeply satisfied, whether you’re working, playing sports, or enjoying a hobby.

Who created Speechmatics Flow?

Flow was actually developed by Auston Bunsen, a software engineer who’s been in the tech world for a good while. He founded Flow back in 2007, and since then, it’s really grown into a major player in task management and team collaboration software. People like Flow because it’s so easy to use and its project management tools are genuinely effective at helping teams work more smoothly and get more done. The company’s focus on keeping things simple and effective has earned them a lot of loyal users across all sorts of different industries.

How to use Speechmatics Flow?

Ready to get the most out of the Flow tool? Here’s a simple, step-by-step guide:

  1. Getting into Flow: First, head over to the Microsoft Flow website and log in with your usual account details.
  2. Starting a New Flow: Once you’re in, look for the “My Flows” tab. From there, click “Create from blank” to begin building your own custom Flow.
  3. Picking Your Trigger: You’ll need to choose what starts your Flow. For example, you could set it to begin “When a new email arrives.”
  4. Adding What Happens Next (Actions): Next, you’ll define what you want the Flow to do when that trigger happens. This could be anything from sending you a notification to updating a spreadsheet.
  5. Setting Up the Details (Configuring Actions): For each action you add, you’ll want to customize it with the specific information and settings it needs to work for you.
  6. Giving it a Test Run: Before you officially save it, it’s a great idea to test your Flow. This lets you walk through it like a simulation to make sure everything is working as expected.
  7. Saving Your Work: Once you’re happy with how it’s set up and tested, go ahead and save your Flow so you can use it whenever you need it.
  8. Keeping an Eye on Things (Monitoring and Managing): Your dashboard is where you can see all your Flows. You can easily turn them on or off, make changes if needed, or check the history of how they’ve run.
  9. Trying Out Templates: If you’re just starting out with Flow, I’d really recommend looking at the templates. They’re a fantastic way to see how different scenarios are put together and get a feel for how Flow works.
  10. Finding More Help: Don’t forget there are plenty of online tutorials, community forums, and Microsoft’s own detailed documentation available if you want to learn more advanced features or need help with something specific.

By following these steps, you’ll be able to use the Flow tool really effectively to automate your tasks and make your workflows run much more smoothly.

Related AI Tools

Discover more tools in similar categories that might interest you

Stay Updated with AI Tools

Get weekly updates on the latest AI tools, trends, and insights delivered to your inbox

Join 25,000+ AI enthusiasts. No spam, unsubscribe anytime.