123RF AI Image Generator
Creative Image Generation
Learn More
Learn what Replicate AI CodeFormer is and how to use it effectively in (2025). Explore its features and how it compares with other Image Generators.
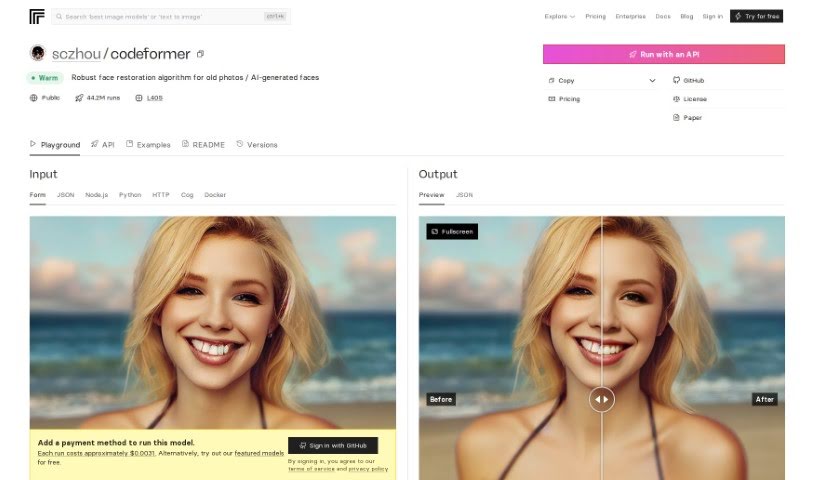
CodeFormer is a really solid face restoration algorithm. It’s designed to make old photos look better or to improve faces that were generated by AI. It is a tool for enhancing image quality and making sure everything looks just right. This algorithm was developed for research purposes, and it uses something called a Codebook Lookup Transformer. This fancy name basically means it’s really good at finding and restoring faces reliably, especially when dealing with images created using stable-diffusion generation. It’s open source, which is great because it means you can run it on your own computer. You can even use Docker to get it set up, making it super accessible for all sorts of projects where you need to work with images and restore them.
CodeFormer was actually created by Shangchen Zhou. He developed it as a robust face restoration algorithm, perfect for breathing new life into old photos or refining AI-generated faces. His main focus was on improving the quality of images produced by stable-diffusion generation. You can find all the details about the project on GitHub; he goes by the username “sczhou” over there.
So, you want to use CodeFormer? It’s pretty straightforward, and there are a few ways to go about it. Here’s a breakdown of the steps:
Import the Client:
import replicate.Run CodeFormer using Replicate’s API:
Install Cog (Optional, but helpful!):
brew install cog. If you’re not using a Mac or prefer a different method, don’t worry! There are other installation options available, and you can find all the details in the Cog documentation.Pull and Run CodeFormer using Cog:
cog predict and provide the necessary input parameters. This will download the model and get it ready to go in your own environment.Run CodeFormer using Replicate’s API (Again, for clarity!):
Run CodeFormer using Docker (Another great alternative!):
These steps really give you a comprehensive way to use CodeFormer effectively. For even more in-depth information, it’s always a good idea to check out the specific documentation provided by Replicate. They’ve got all the nitty-gritty details you might need.
Discover more tools in similar categories that might interest you
Get weekly updates on the latest AI tools, trends, and insights delivered to your inbox
Join 25,000+ AI enthusiasts. No spam, unsubscribe anytime.