123RF AI Image Generator
Creative Image Generation
Learn More
Discover what an Online Image Vectorizer is and learn how to use it effectively in 2025. We'll explore its features and compare it to other design generators.
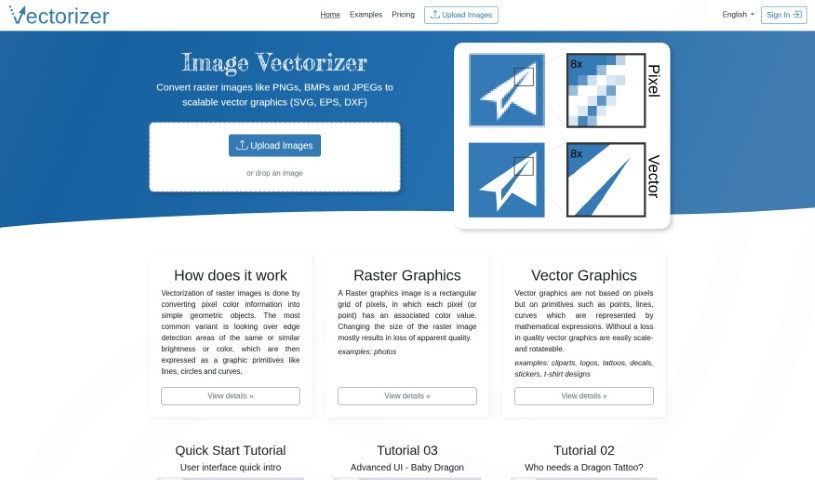
A vectorizer is a tool that takes the color information from a regular picture (like a JPEG or PNG) and turns it into simple shapes – think lines, circles, and curves. It does this by looking for edges where colors or brightness change, and then it describes those areas using mathematical formulas. Unlike pixel-based images, which are made of tiny squares, vector graphics are built on math. This is super handy because you can stretch, shrink, or rotate vector images as much as you want without them ever looking blurry or losing quality. That’s why they’re perfect for things like clip art, logos, and custom decals.
Unfortunately, the document doesn’t mention who founded Vectorizer. Without specific details about the founder or the company behind it, I can’t really give you an overview of them. If you happen to have more information, please share it, and I’d be happy to help flesh out that part!
Using Vectorizer to turn your images into vector art is pretty straightforward. Here’s a quick rundown:
Following these steps makes it really easy to use the Vectorizer tool and get great results converting your raster images into editable vector graphics.
Discover more tools in similar categories that might interest you
Get weekly updates on the latest AI tools, trends, and insights delivered to your inbox
Join 25,000+ AI enthusiasts. No spam, unsubscribe anytime.