Screenshot of Bing Image Creator

Bing Image Creator

Curious about Bing Image Creator? We'll walk you through what it is, how to use it effectively in 2025, its key features, and how it stacks up against other text-to-image tools.

Screenshot

What is Bing Image Creator?

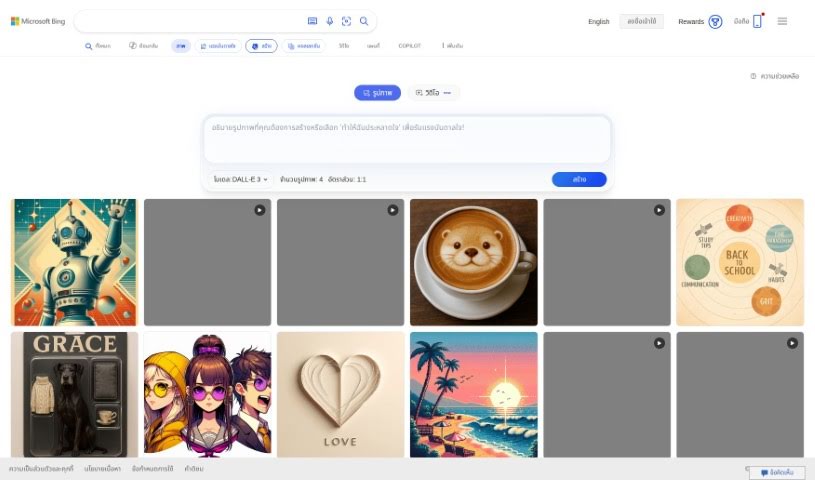
Image Creator is your go-to digital art studio. It’s a tool designed to help you create and tweak images, all through a really easy-to-use interface. You can do all sorts of things with it, like resizing pictures, trimming them down, adding text, or even applying cool filters. Whether you’re a pro designer or just want to make something fun for yourself, Image Creator is super handy. You can whip up graphics for your website, social media posts, presentations, or just for personal creative projects. It handles different file types and gives you the tools you need to make your images look exactly how you want them. Basically, it makes image editing and creation much simpler for everyone, no matter their skill level.

Who created Bing Image Creator?

Unfortunately, the documents I have don’t include information about who specifically created Image Creator or details about the company behind it. Is there something else I can help you find?

How to use Bing Image Creator?

Ready to start creating? Here’s a simple breakdown of how to use Image Creator:

  1. Get Started: First, open up the Image Creator tool. You can usually find it on your device or by simply searching for it in your web browser.
  2. Pick Your Image Type: Decide what kind of image you’re aiming for. Are you making a logo, a banner, a graphic for social media, or something with custom dimensions?
  3. Template or Blank Canvas?: You’ve got a choice here. You can pick a ready-made template to get you going quickly, or if you’re feeling creative, start with a completely blank canvas.
  4. Make It Yours: Now for the fun part! Add text, other images, shapes – whatever you need. Play around with different fonts, colors, and sizes until it looks just right.
  5. Arrange and Edit: Move things around, resize them, rotate them, or layer elements to create a really eye-catching composition.
  6. Add Some Flair: Want to make your image pop? Try applying filters, adjusting the brightness and contrast, or adding special effects.
  7. Save or Export: Once you’re happy with how it looks, save your image. You can usually choose your preferred format, like JPEG or PNG, or export it to use wherever you need it.
  8. Download or Share: Grab the image to your device, or if you prefer, share it straight to your social media, website, or other platforms.
  9. Final Check: Give your creation one last look. Make any small tweaks needed to ensure it perfectly matches what you had in mind.
  10. Get Feedback: It’s often helpful to get a second opinion! Ask others for their thoughts and make improvements based on their suggestions. Don’t be afraid to iterate on your design.

Follow these steps, and you’ll be well on your way to creating some really captivating visuals for whatever you need!

Related AI Tools

Discover more tools in similar categories that might interest you

123RF AI Image Generator

Creative Image Generation
Learn More

Stay Updated with AI Tools

Get weekly updates on the latest AI tools, trends, and insights delivered to your inbox

Join 25,000+ AI enthusiasts. No spam, unsubscribe anytime.